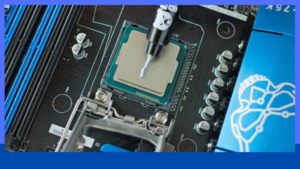
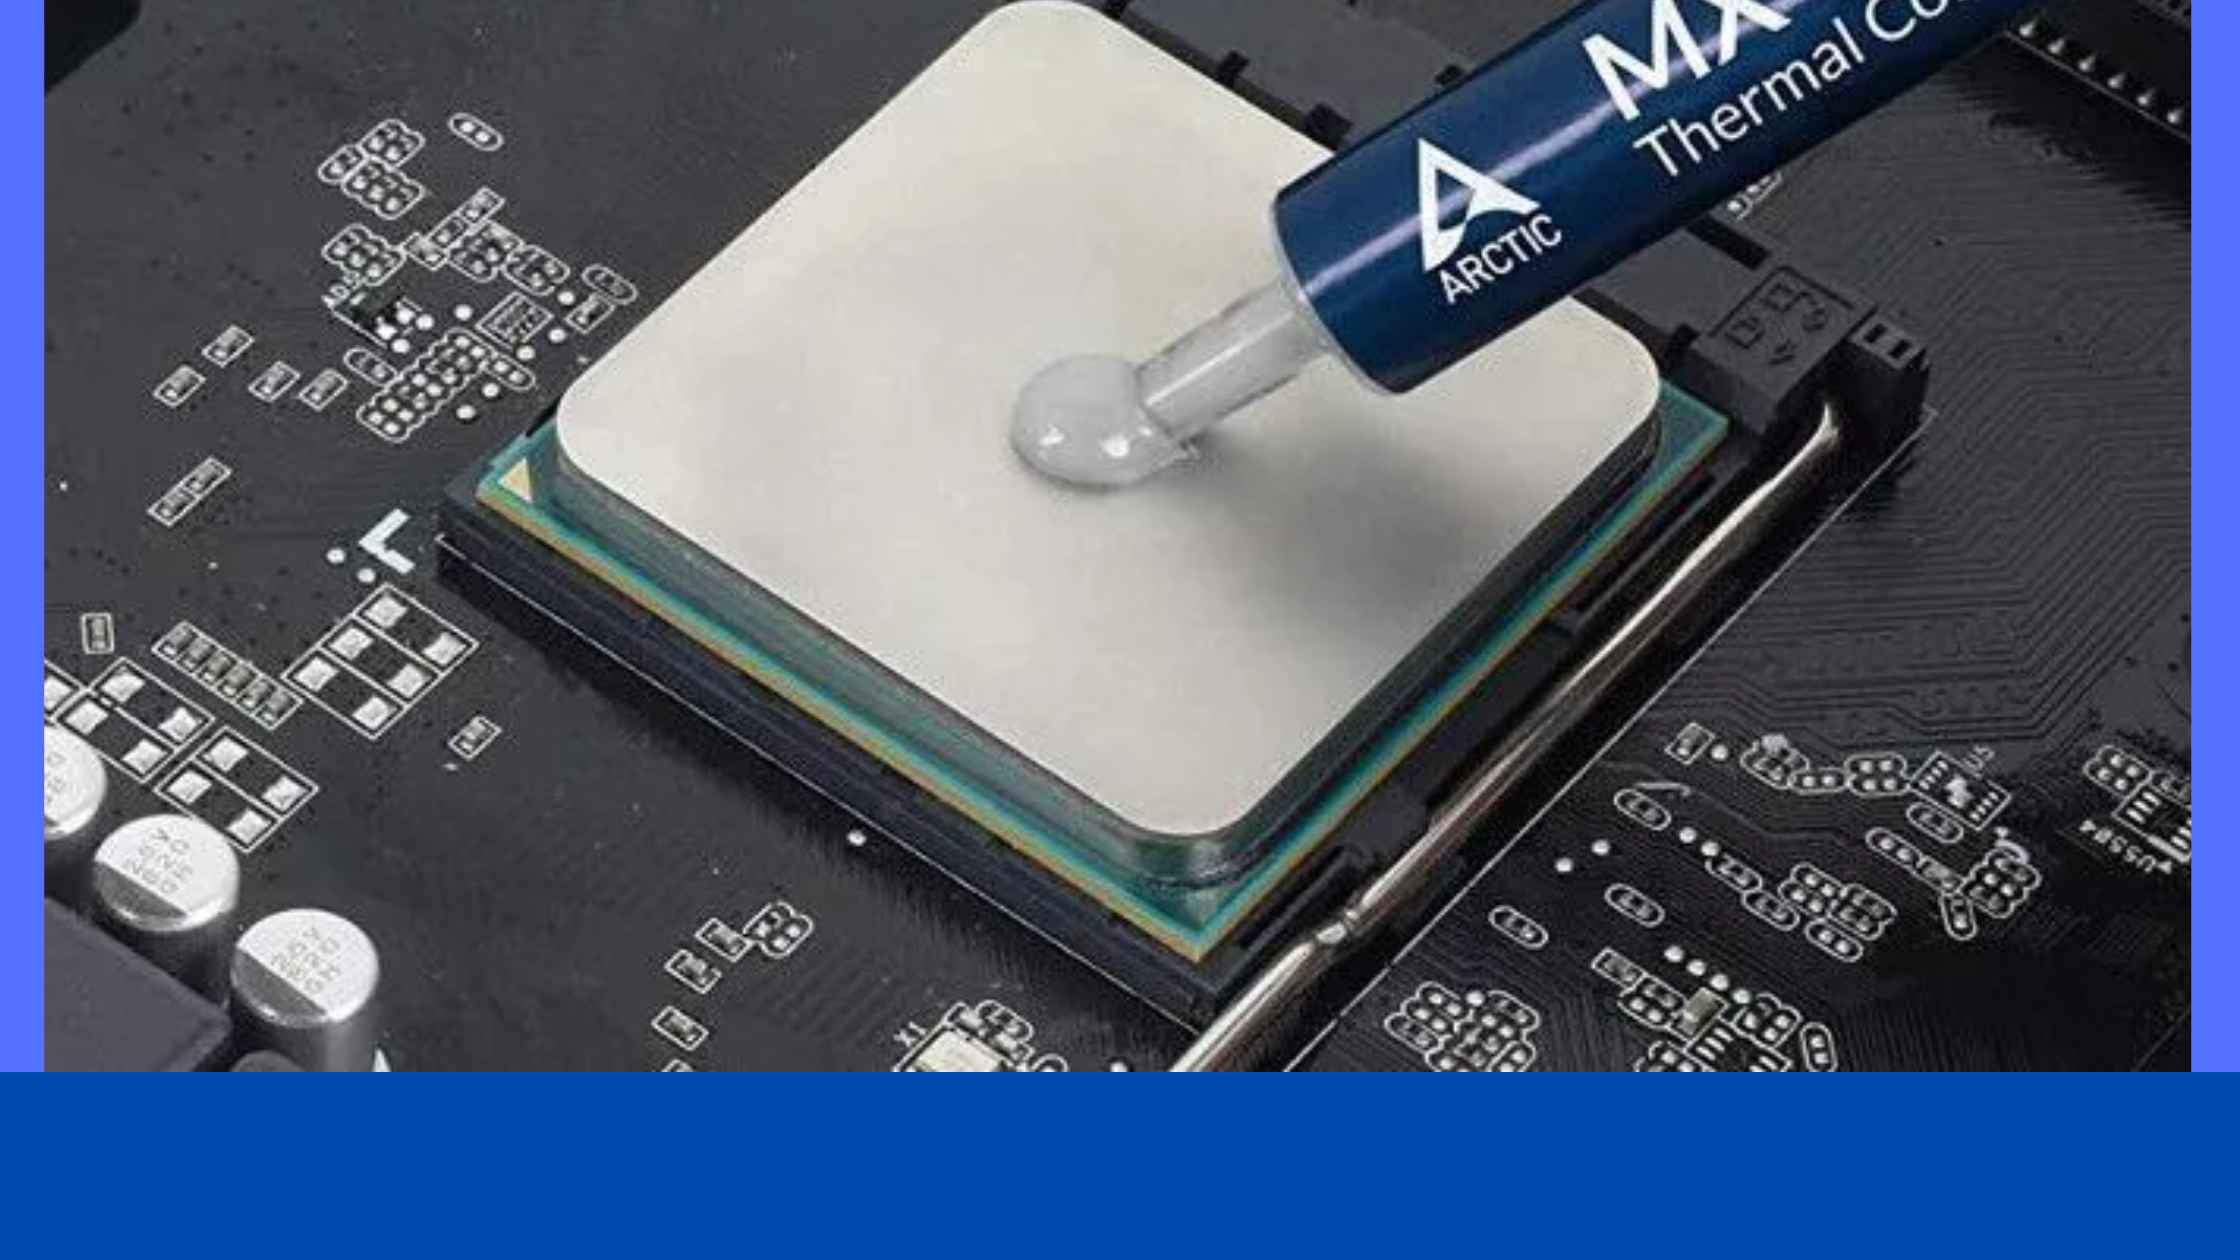
You apply the silver-gray substance to the processor before installing the cooling solution which allows efficient transfer of heat from the processor’s IHS to the base plate or water block of the CPU cooler designed to dissipate that heat.
But Does the Thermal Paste need to be reapplied frequently? Reapplying paste more regularly than once every few years is seldom unnecessary; in any case, you should replace the paste if the cooler is removed. If you notice that your CPU temperature is rising, you may wish to reapply thermal paste.
How Often Should I Reapply Thermal Paste On My GPU & CPU?(Explained)
There’s no need to worry about replacing the thermal on your computer as long as the heat sink is properly intact and in a good state, if the thermal paste already applied is of a quality and correctly, just that will last in your computer for years.
Though in any exception that might occur is that when you start to notice device cooling insufficiency or behaving unpredictably with no other evidence reason but that is after some years of use of (5 yrs upward).
Do You Use Thermal Paste in the Right Situations?
When a cooling system is installed, the thermal transfer material is employed. A CPU cooler installation is most likely what comes to mind when discussing the use of thermal paste in a PC. The thermal solution, for example, is pre-installed on graphics cards.
Installing a GPU cooler isn’t necessary unless you want to use a bespoke liquid cooling system in the future. You’ll nearly always have to install your CPU cooler because so many alternatives are available.
- Thermal paste in CPU
- Thermal paste in GPU
1. Thermal paste in CPU
Every CPU cooler requires thermal paste, but many people have already applied it, simplifying the installation process.
To find out if you already have paste applied, check the water block of your CPU cooler under the base plate or attached to the CPU.
- Apply the thermal paste onto the center of the CPU’sCPU’s IHS
- Install CPU cooler.
- Double-check your work
Apply the thermal paste onto the center of the CPU’sCPU’s IHS
If you already have thermal paste on your cooler, you can skip this step.) All you want to do is apply a small amount – equivalent to a grain of rice or peas – to the center of the integrated heat spreader.
Install CPU cooler
Use light, top-to-bottom pressure to place your cooler’s base plate or water block on the CPU, and hold that pressure when attaching the cooler to the mounting mechanism.
You’llYou’ll want to use enough force to prevent the cooler from slipping and to distribute the thermal paste evenly; nevertheless, you don’t want to bend the motherboard or harm the CPU by pushing too hard.
Attach the cooler to the motherboard diagonally, fastening the screws as if you were creating an “X” with them (if you are using a screw mechanism). Before tightening the screws entirely, twist each one a few times to maintain the pressure.
Double-check your work
Once the CPU cooler’s base plate or water block is firmly attached, check your work to ensure everything looks correct.
There should be no thermal paste anywhere on the edges of the CPU or the motherboard. If there is, it means that you have used too much paste, which should be cleaned with alcohol and started again if the cooler doesn’t budge when you touch it, and everything else appears to be in order; congratulations! You have completed this important step.
Thermal paste in GPU
In general, please change the thermal paste of your GPU only when you see the rising temperature and low performance with your device.
Otherwise, provided you have a safe heat sink and your high-quality thermal paste, it should serve you for many years without any replacement.
Although you can change the thermal paste on your GPU as much as you want, it does not need to be adjusted annually, as you will only run the risk of damaging your heat sink.
Is It Worth Replacing GPU Thermal Paste?
Changing your GPU thermal paste is important, especially if you suspect a problem with your cooling system, but the cooling fans still run smoothly.
Switching the thermal paste between the heat sink and the GPU is advisable, especially if your GPU is a bit old or has been running for some time.
Most thermal pastes, especially low-quality ones, harden over time, causing the GPU to overheat, which can permanently damage the GPU. That’sThat’s why you should replace factory thermal paste with high-quality paste.
In addition, replacing the thermal paste on your graphics processing unit is worth the effort, especially in the long run. In general, the metal surface of the integrated heat spreader and GPU may appear smooth to the naked eye.
On the other hand, metal plates have tiny imperfections that impair their efficiency in heat transmission.

How To Change A Thermal Paste On GPU
- Remove The Graphics Card From The Computer
- Blow-dry The Card With Compressed Air
- Take Out The Heatsink Assembly
- Clean The Heatsink And GPU
- Apply The Thermal Paste
- Reassemble The Heatsink
- Reinstall The Graphics Card
Remove The Graphics Card From The Computer
Turn off your PC by unplugging from the power source, and disconnect all connected cables. Next, open the case lid and empty the graphics card wires.
A screwdriver is needed to remove the card from the case’s lid by unscrewing all the screws. Slide the release clip (or press it to the open position) at the last part of the PCI Express slot, where the graphics card connects to the PC’sPC’s motherboard.
Blow-dry The Card With Compressed Air
Before you start working on the card, clean it using compressed air from a box or compressor. The more pristine the components, the easier it will be for you to work on the card, and the less work there will be.
Similarly, you can use a small paint brush to clean hard-to-reach parts and then blow them out using compressed air.
Take Out The Heatsink Assembly
Before working with anything, unplug the fan connector and unscrew all screws. After that, you can disconnect the GPU cooler and unplug the fan connector from the card.
Most cards usually have patches on the back, which you need to undo to expose and remove the heat sink. However, some models use plastic clips that you can release using a pair of pliers and clippers.
Clean The Heatsink And GPU
If the GPU and GPU cooler comes with Heatsink factory thermal paste, make sure you use the search for a high-quality thermal paste removal agent as isopropyl alcohol to make cleaning as easy as possible.
Other agents such as alcohol or methylated spirits take longer to clean old paste than thermal paste remover.
Apply The Thermal Paste
After you are through with the cleaning process, you can then apply a sizable amount of thermal paste enough to cover the whole contact area of the GPU. Once you fit back the heatsink, press it up against the GPU.
Do not apply excessive paste since the compound will ooze out over the sides onto unintended areas and increase the separating distance between the metal surfaces.
Reassemble The Heatsink
First, you have to attach the fan to the connector before inserting the screw and hold the cooler with your free hand and make about two to three turns.
Next, have your safe screw ready for operation before you put the heat sink in place. Pull the screws to secure the heat sink with your free hand while keeping the heat sink in place with your other hand.
Reinstall The Graphics Card
Steps to reinstall the graphics card are equivalent to removing it. Ensure the card stays in a level position before queuing and inserting it back into its specified slot.
Check if the locking clip on the back end of the card slot was the type of sliding or the features of the pins. Depending on the type, clip it or slide it locked again.
Final Thought
Changing the thermal compound on your GPU should increase the operating temperature range at which the computer operates.
It helps improve the longevity and durability of your device. In addition, applying a high-quality thermal paste will save you the worry of changing the compound in the long run.
However, before disassembling the heat sink, check that the card fan rotates normally.
Related Articles

