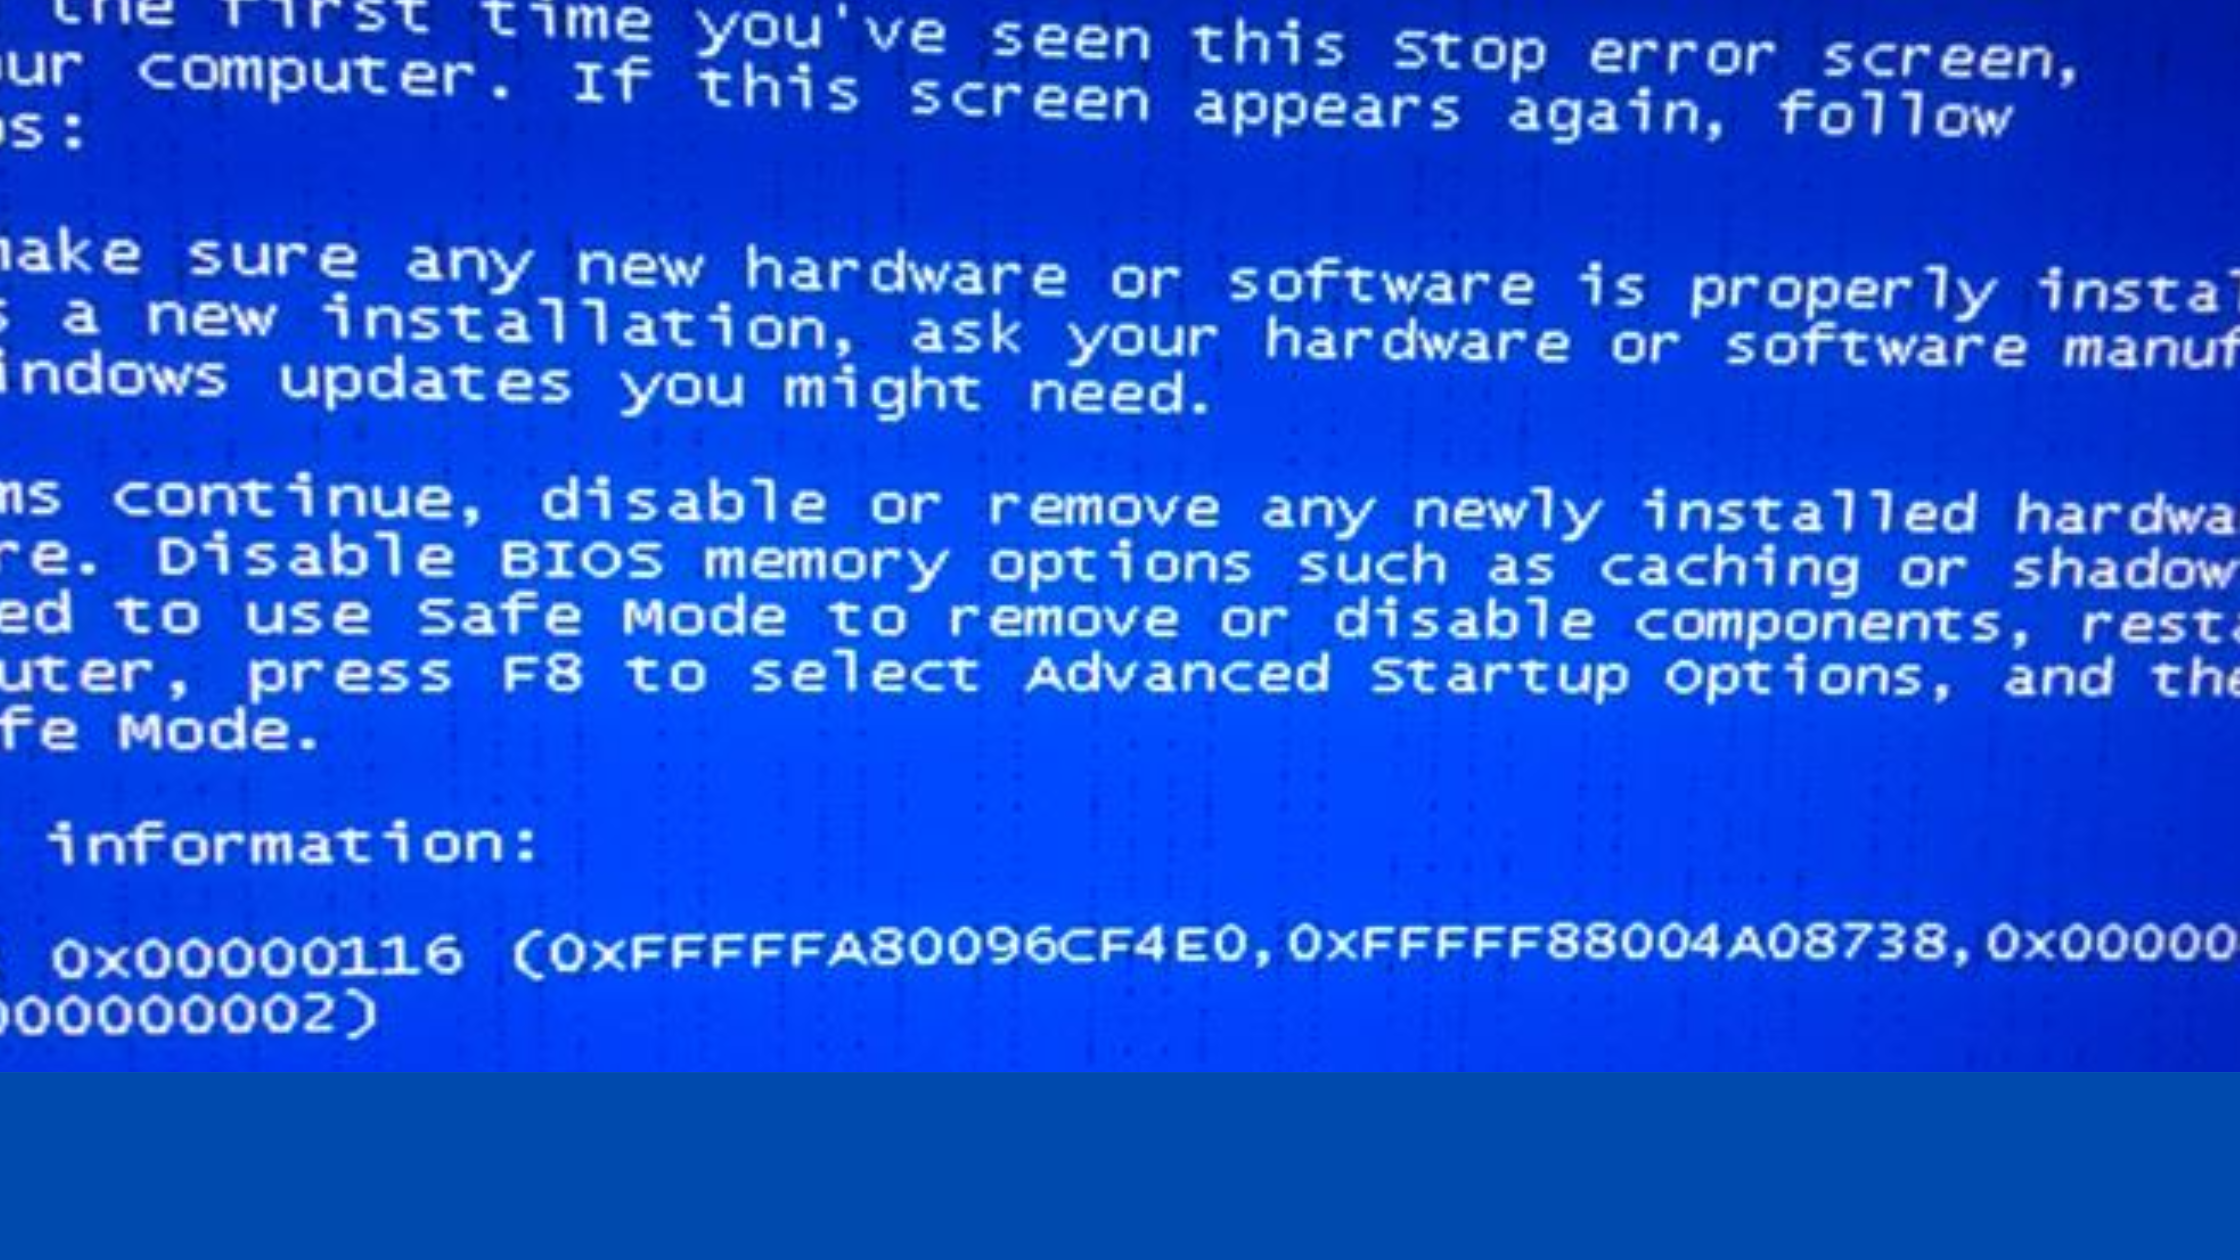
If you disable your machine’s main graphics chip, your screen will immediately turn black. The hardware that sends visual data to your screen is disabled.
Regardless, the problem is purely a software problem and can be completely reversed by simply rearranging the CMOS that controls the BIOS.
How simple or difficult it is to recover your graphics card will depend on your familiarity with computers and the number of peripherals you’ve used in the past.
Depending on how you deactivated your graphics card in the BIOS or Windows OS, this topic provides you with instructions on how to get it working again.
What are BIOS and CMOS?
Your computer’s BIOS, which stands for Basic Input/Output System, informs it what to do with each piece of hardware when it’s booted up. Essentially, it will appear like the screenshot below.
Because it serves as the BIOS’s short-term memory, Complementary Metal Oxide Semiconductor (CMOS) is used every time you turn on your computer.
CMOS is often found in RTC clock semiconductors, although it is also available as a standalone chip on some motherboards.
Fixing a Graphics Card Disabled from BIOS
- Restart the BIOS Laptop or Desktop PC
- Remove the CMOS Battery
- Desktop CMOS Battery Removal
- Laptop CMOS Battery Removal
1. Restart the BIOS Laptop or Desktop PC
Most motherboards have a CMOS reset switch, which disconnects the backup battery power from the BIOS – a pin and plug setup.
However, it can use buttons on some motherboards. If your board includes a reset switch, it’s easy to reconfigure your CMOS and BIOS configuration.
Remove the plug, then hold down the power button for at least 20 seconds to eliminate residual energy. If your switch contains the third pin, remove it and place it on the opposite exterior, as shown in the picture above.
For the second time, press and hold the power button for at least 20 seconds. It is then time to re-attach the plug or, if necessary, restore it to its external pin.
The BIOS effectively “forgets” which settings to utilise in a startup when the plug is removed from the pins. Don’t be alarmed. Because they are stored on HDD or SSD, none of your files or data are altered or erased. In its place, the machine returns to the default settings for booting up.
2. Remove CMOS Battery
CMOS runs on a small battery (CR2032); the second BIOS reset option is to remove it. For desktop PCs, removing the CMOS battery is relatively straightforward: make sure your machine is turned off and remove all external cables, then open the case to reveal the hardware inside.
If you are doubtful about how to do this, consult the manufacturer’s information, but be aware that doing so may void your warranty.
Once the internal components are accessible, locate and remove the CMOS battery, which looks like a large clock battery usually located in the exposed housing on the motherboard.
Once found, remove the battery, but you may need to remove some form of clamping mechanism first.
After removing the CMOS battery, press and hold the power button for about 15 seconds to remove any residual power in the motherboard, this step should give CMOS time to reset itself to its defaults.
Now, re-insert the CMOS battery, making sure it is inserted correctly.
Then, reopen your computer case and restart your machine. You should have previously performed a BIOS reset, which should have re-enabled your built-in graphics.

3. Laptop CMOS Battery Removal
For laptop users, accessing a CMOS battery can be more difficult. Some models have a small popout tray on the chassis to make it easily removable, similar to a DVD tray, except that it is very small – about an inch wide.
If your laptop doesn’t have a tray feature (most don’t), you’ll need to disconnect your “portable PC” to access the battery housing.
Due to the wide variety of laptop making and models, it is impossible to provide a comprehensive guide to separate them all.
Finding a decent guide or video on how to dismantle your laptop is as simple as finding out the model number and searching the internet.
Steps for a desktop PC are similar to those for a laptop: Remove, turn off, and restart. BIOS should return to normal with an active screen after a reboot.
Changing the CMOS battery may fix the issue if the first two methods don’t work for you.
Alternatively, the second option would be to take it to your local PC repair shop. Let the staff know that you need to remove the CMOS battery and reconfigure the BIOS, and they will be happy to do that for you while you wait.
Fixing a Graphics Card Disabled in Windows
- Booting into Safe Mode
- Re-enable the Graphics Card
1. Booting into Safe Mode
First, boot your system into safe mode and hold down the Shift + F8 key during startup. If the screen is still working, which is what it should, until your graphics card fails or you have a screen cable or screen malfunction, try reactivating the graphics card.
You should also update your system drivers. Additionally, restoring the PC to factory defaults can solve your problems if it is software related.
2. Re-enable the Graphics Card
After Windows starts, open Device Manager; now, scroll down to the display adapter and click on it. After that, click on your graphics card and select Enable Device if it’s disabled.
Now you can try restarting the computer to see if it works or try to update the drivers. It is often better to try one thing at a time and see if it solves the problem.
Final Thought
Improper driver or use of the outdated driver, mismanagement of cable, faulty GPU slots, and outdated BIOS are the main reasons behind this terrible problem.
In addition to detecting inactive GPUs in the BIOS, OS bug updates can also be a problem.
Related article:

